Posted on by

Creating a Hike Description

Part of the responsibility of a Hike Planner is to write up a description of the hike. Primarily this description advertises the hike so our members can choose whether to attend the hike. These descriptions are also available in the future for individual hikers who would like to enjoy the area of the hike, and to hike planners who want inspiration from a past hike.

Please note: Your hike should already be on the calendar.  At the start of the season, the Seasonal Coordinator will post the season calendar with each hike as a separate event on the calendar. As the hike planner, you will be updating the event (that means you don’t need to use “Add New” to create an event).

As you work on the details of the hike, this event should be updated to keep everyone informed. This can be done at any time up to the date of the hike. Assuming the description is complete a week ahead of the hike, the description will appear as part of the home page on Monday morning.

NOTE: as you compose your hike description please avoid including last names, phone numbers and personal addresses. The website is a public forum and this private information does not mix well. And, get permission before you post pictures of identifiable people. Also, any offensive posts will be immediately removed.

The following instructions will help you update your hike plan.

FINAL NOTE: Hike descriptions are entered as Events rather than Posts or Pages. Since our Sunday hikes are entered prior to the season, you only need to edit the event (not create a new one). The only time you need to create an event is when you add a hike organized by some other group.

login

  1. The first step is to log into the website. The login process reduces the likelihood that strangers to Springwater will add inappropriate content to the website.

Click on Log in at the upper right corner of the webpage. A form will appear requesting a Username and a Password. If you do not know your Username, or your Password, click on Lost your password? and enter your email on the page that comes up. An email will be sent to you with instructions for creating a new password. Send an email to [email protected] if you have trouble.

  1. When you log in, you will see a black bar at the top. If you don’t see a black bar, please see below.
  2. Next, you want to find your event. If your event is coming right up, it may be in the sidebar on the right hand side of the page. If your event isn’t on the sidebar, click on the Calendar to find your event. Click on the event to read what is already available. This is a ghttp://Calendarood time to note things that should change such as the location where we will meet for the hike.
  3. You should see “Edit Event” in the black bar at the top of the page.  If you don’t see a black bar, make sure you have logged in. If you don’t see “Edit Event”, then you may not be assigned as the “author” of this event.  Email [email protected] for help. If you do see “Edit Event”, click on it.

The first time you edit an Event, please click on Screen Options in the upper right. Then put checks on the following: Categories, Tags, Event Details, Enable full-height editor. This will make your screen match the description below. I recommend 2 columns if your screen is wide enough.

  1. You may adjust the title of the hike on the first line. You may adjust the date and time of the event if these change.
  2. You should click on Event Location Details to enter the exact location where we will be meeting before the hike. Note that the Title of the event and the Venue Name will appear in the Newsletter on the website. So don’t repeat the title as the venue. For example, if the hike is at Hi Tor, you might enter the title as Hi Tor, and the venue as DEC Parking area on Rt 245. Enter an address on the address line to get the map approximately correct. Then you can check the “Show Map” box and move the red marker to the start point. 
  3. Enter the hike description in the large area under the Event Location Details. This area is a simple HTML editor appropriate for our website. You should notice that there are two tabs on this editor window, one labeled Visual and one labeled Text. Generally, you want the Visual tab unless you understand HTML.
  4. Type in your Hike Description. Think like a reporter and an advertiser. The first paragraph should give an overview of the hike and grab the reader’s interest. Do you remember the five W’s of a good story?
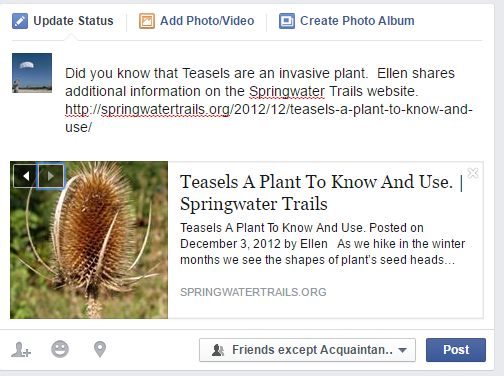
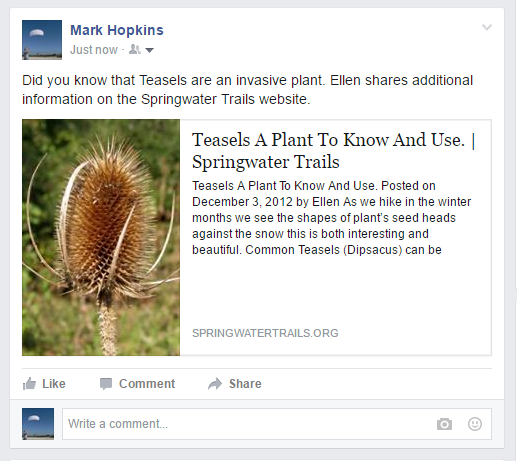
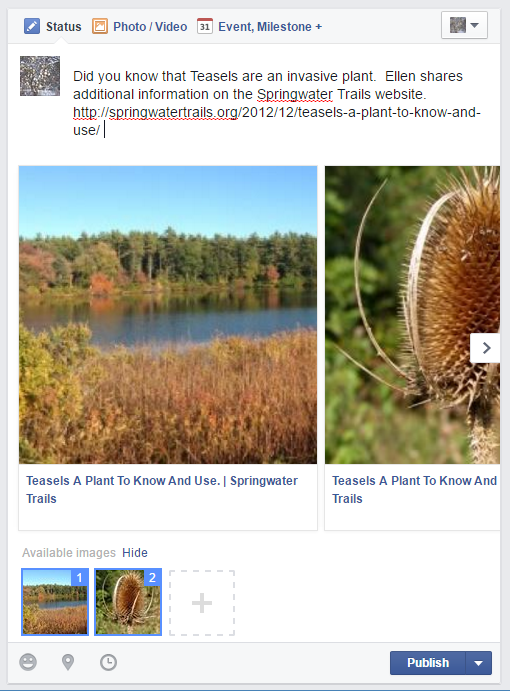
  5. Include one or two pictures for interest. If you do a preview hike (highly recommended), then take five or six pictures as you hike so you have something to choose from.
  6. Help direct your readers to additional information with hyperlinks.
  7. Add directions at the bottom.  If this is at a common location for our hikes, you may find directions already on the site – in another browser window, select Directions and enter the location of the hike in the upper part of the home webpage to seach for directions.  Use that link as the target of a hyperlink behind the word Directions:. Otherwise, write out directions from the center of Springwater and possibly from other locations such as Honeoye, Dansville, Naples and Rochester. The goal of directions is to ensure that hikers know where to park and how to get there without. getting stuck in a farmer’s field.
  8. The newsletter articles are selected based on the category that is assigned to the event. Make sure your hike description has the Category of Sunday Hikes checked. Please only check the one category.
  9. You may set tags to help searches. A good tag is the general area such as Hi Tor or Finger Lakes Trail.
  10. Click on Update to save your changes.

Finally, you may find you want to edit your hike description. You may have misspelled a word, or you may have left out directions to the starting point. Or maybe you just want to add a comment about what you saw on your prehike.  For whatever reason, feel free to edit the event whenever you feel it is needed – it works the same way and saves your latest changes and displays them.

Some notes if the directions above don’t seem to work.

What is my username?

Your username is your email address. If you use more than one email address (say a home and a work address), then you may need to try both addresses. If you can’t guess your username, contact us at [email protected].

What is my password?

Only you know your password.  If you have forgotten it, you should click on Lost your password? on the login page.

I am logged in but don’t see a black bar

First, check that you really are logged in.  If the upper right corner of the Springwater Trails page shows “Login” then you are not actually logged in. It will say “Log out” if you are logged in.

Second, it is possible to turn off the black bar. If you edit your Profile, make sure the item “Show Toolbar when viewing site” is checked if you want to see the black bar. 

Finally, if you don’t see the black bar when you are logged in:

  1. Try entering the address https://springwatertrails.org/wp-admin/. (You may want to add this as a favorite in your browser).
  2. If this is the first time you are looking at the dashboard, you may want to set your “Screen Options”. Click of “Screen Options” in the upper right and uncheck Quick Draft.  You don’t need to do this again, and you won’t be confused by the Quick Draft which we do not use.
  3. To edit your event, click on Events on the left menu.
  4. Make sure the list of events is sorted by “Event Date/Time”.
  5. Find your event and hover over the title. Select “Edit” from the menu that appears. 

I don’t see my hike in the calendar or the list of events

If you are the hike planner for a hike, your event should be in the list.  There are a few reasons why you don’t see it, so please email [email protected] for help.

How do I add another event to the calendar that isn’t a planned Sunday hike?

  1. Go to the dashboard
  2. Hover over Events in menu and click on Add
  3. Set a Category for the event so others can find it.
  4. Enter a title, date and time, a location and a description.
Posted on by

How to send a Springwater Trails Email

Starting in August, 2017, Springwater Trails email is sent using a Google Group.  This has several advantages over our old way.

  1. You can send emails to the group from your personal email address using your regular email client.
  2. Recipients can use googlegroups.com to manage whether they want to receive emails.
  3. Each email counts as a single message, allowing the group to send more than one message a day. Sometimes we happen to send two messages a day and Google mail limits us to a total of 500 recipients per day, which is almost exactly 2 messages.
  4. Email addresses are not exposed to recipients, providing some privacy.

Currently we have set it up to allow only officers to send emails to the group.

To send an email from Springwater Trails, you first need to compose the email.  In the case of hike announcements, I generally create the web post and then view it in a browser and copy it (Click inside the browser window. Press Ctrl-A to select it all, then Ctrl-C to copy it. Then click in the body of the email and press Ctrl-V to paste it in).  Generally the title and the comments need to be removed, but this is a good start.

To send an email

  1. Open your personal email.
  2. Compose an email the same way you always do.
  3. Type [email protected] into the To line.
  4. Compose the email. In the case of hike announcements, I open my browser and go to SpringwaterTrails.org, select the entire body of the announcement story, thin press Ctrl-C to copy it. Then click in the body of the email and press Ctrl-V to paste it in. Edit the content if necessary:
  5. Add a subject.  Note that the system will automatically add “Springwater Hiking -” to the start of the subject line before the recipients see the email. In the case of hike announcements, select the title of the story on the website, press Ctrl-C and paste it (Ctrl-V) into the email Subject area.
    1. I prefer to remove pictures since they are available on the website.
    2. I often add a paragraph of “club news” at the start of the email.
    3. If you find typos while reading the email, be sure to go back and correct the original post or event on the website.
  6. Proofread the email one last time.
  7. Press Send.

That’s it.

Posted on by

Linking to Springwater Trails from Facebook

Do you find Facebook to be an enjoyable tool?  Did you know that you can advertise the Springwater Trails hikes on Facebook?  This is an easy way to share our recreation opportunities with your friends and neighbors.

However, it has been pointed out that Facebook isn’t always obvious about how to do things. So here are some instructions I have learned.

Lets suppose you read something on the main page of Springwatertrails.org that you would like to share.  Just now, reading the home page, I saw Ellen’s note about Teasels.

Step 1

The first thing I do, is click on the title of the story.  This brings up a page with just that one story.  That way I can easily comment on the one story and not confuse my facebook friends. From the Address bar of my browser, I highlight and copy the address to this page.

Step1Step 2

Next, I log onto Facebook, and on my home page, I type a comment into the “What’s on your mind?” box, and paste the address from the address bar.

Step 3

step2At this point, Facebook goes to the Springwater Trails website and looks at the page.  It reads what is on the page, and looks for any pictures.  This may take awhile.  If you can wait, you will see the pictures.

Step 4

Step3What you will notice is that Facebook finds two pictures on this page. The first picture appears at the top of the page. The second picture is a part of the text of the post. You can leave the pictures as they are, but notice that the first picture has nothing to do with the Teasels. Really, the second picture is the better one. There is an arrow in the upper right that lets you select the desired picture.

Step 5

step4The final step is to post you comments. When you press Post, you will notice that Facebook removes the Springwater Trails address from your comments, because the box with the picture and description is the actual link.

Page Posting

step2aWhen you post a link on a Facebook Page, things show up slightly differently. Here is how it looks when I post on a Facebook page, rather than on my own timeline. (To find the Springwater Trails Facebook page, search Facebook for Springwater Trails Hiking Page).

Step 4 (Pages)

Step3aThere are still the two pictures. In this situation, you want to remove pictures you don’t want, rather than selecting the one you do like. You can click on any of the small pictures to remove it, or you can look within the larger pictures an find an X in the upper right corner to delete it. I clicked on the first small picture.

Step 5 (Pages)

Step4a

When you post to a page, the link address isn’t removed automatically for you.  So, you may want to highlight the link and delete it just before you click on Publish.

Group Posting

Facebook also has Group pages (Search for Springwater Trails Hiking Group).  Posting a link to the Springwater Trails webpage works the same on the Group page and on your personal page.  however, it is seen by the people who have joined the group, rather than by all of your friends.

I hope this helps you post links to our website.  It is a great way to increase our hiking group’s audience.

Posted on by

Latitude/Longitude for navigation and your GPS unit

Information herein about Latitude and Longitude coordinates applies for use with a GPS unit, whether using in road travels or hiking.  The info also applies for map reading (and map & compass pursuits).  Herein is an easily explained primer about Latitude and Longitude.

Many folks these days refer to latitude and longitude coordinates as GPS coordinates or GPS coords (or GPS cords) for short.  They also can be referred to as map coordinates, and have been so long before the advent of the GPS unit.  (GPS is an abbreviation for Global Positioning System.)

[ For mindset, an example of a listing of latitude and longitude coordinates is:  42.637310, -77.596007 ].  This coordinate notation method utilizes degrees in a full decimal notation or format.

[The same locale listed differently (using degrees ° , minutes ‘ , seconds ” and a decimal included within seconds) is: 42°38’14.3″N 77°35’45.6″W .  For sake of ease for right now, let’s stick with the full decimal form of degrees (which has 6 decimal places s listed above) for our first identification of latitude and longitude.]

In coordinates, latitude is listed first (and then longitude), so consider the coordinate listing system as alphabetical. And if you use the mnemonic “changes in latitudes, changes in attitudes”, as Jimmy Buffet proffers in his song, you can remember that changing of seasons and temperatures is associated with latitudes (thus further north or further south). Continuing further explanation, alphabetically North comes before South, and likewise North is over South, thus the southern hemisphere (southern latitudes) being below the equator has an assigned minus (-), while the northern hemisphere (northern latitudes) where we in New York & all of the US are has no preceding minus (-) in latitude.

In coordinates, longitude is listed second (read last). In longitude, the US is in the minus (-) half of longitudes, it lies west of the Prime Meridian. (The Prime Meridian is an imaginary north/south axis line labeled as longitude zero; it passes thru Greenwich, England the site of the Royal Greenwich Observatory.) Being that the continental US (and Hawaii, most of Alaska, and North & South America) lies to the West of the Prime Meridian, the US is in the western hemisphere and considered West Longitude. Again alphabetically, East is before West so logically the latter (West Longitude) gets a minus (-) assigned to it in longitude, while East Longitude (think Europe, Asia, Africa) has no preceding minus (-) in longitude.

What lies 180 degrees, half way around the globe from the Prime Meridian, you ask? Well, it is the antimeridian aka the 180th meridian aka 180th parallel. What about the “International Date Line” (IDL)? Well, the IDL roughly approximates the antimeridian, but deviates to pass around some island groups and territories. No time herein to start talking about “time zones”, but there are commonalities to meridians. What about Greenwich Mean Time (GMT)? Yep, related to that Prime Meridian, but again not talking about it herein.

Close to home, utilizing this latitude/longitude coding system in degrees and decimal, the “four corners in Springwater, NY” can be represented as approximately 42.637310, -77.596007   This decimal notation is but one of a number of ways to code latitude and longitude. Utilizing degrees, minutes, and seconds of measure is but another, and it is this system (degrees, minutes, seconds) that is more likely utilized on a traditional paper map.

You can see the latitude/longitude system as a type of grid. Visualizing can make for easy, “ah-ha” understanding. Cropped from an article, the latitude/longitude grid of the continental US (below) may help you to easily identify with the concept. The cropped segment is provided chiefly for viewing the grid, but if you wish you can take up on the accompanying prose, and even take a look at the article in entirety. The prose accompanying this grid does not utilize decimal listing of lat/long, it uses degrees, minutes (‘), and seconds (“). The decimal listing of lat/long is most easily utilized in a GPS unit geared toward driving destinations.

If you know more than you did before reading this segment, Great!, … and now you can consider it as a primer for when S/T hikes may utilize navigational coordinates (aka Lat/Long coordinates, aka GPS coordinates), … perhaps a future hike with a Geocaching or Orienteering component.

—- cropped segment of an article (below), including the lat/long grid of the US —-

It is worth taking a few seconds to memorize the following numbers. It will help you to use latitude and longitude more effectively:

1 degree = 70 miles
1′ = 1.2 miles
1″ = .02 miles
united-states-latitude-longitude
Example:
Los Angeles
34° 3′ 8″ N / 118° 14′ 34″ W
34 degrees 3 minutes 8 seconds North / 118 degrees 14 minutes 34 seconds West
The map shown above only shows the major degrees. However as you can see, even the coordinates 34° N / 118° W will enable you to sight fairly quickly on the map where Los Angeles is located. If we had a map which indicated ‘minutes’, then you could distinguish down to approximately a mile. If the map indicated “seconds”, then you could pinpoint the exact center down to approximately 100 feet. Think of it as grids within grids… It’s just a matter of having the right map which overlays latitude and longitude down to the resolution that resolves for your purpose.